Codex
Sublime Text frontend for OpenAI Codex
Details
Installs
- Total 3K
- Win 1K
- Mac 791
- Linux 557
| Jul 28 | Jul 27 | Jul 26 | Jul 25 | Jul 24 | Jul 23 | Jul 22 | Jul 21 | Jul 20 | Jul 19 | Jul 18 | Jul 17 | Jul 16 | Jul 15 | Jul 14 | Jul 13 | Jul 12 | Jul 11 | Jul 10 | Jul 9 | Jul 8 | Jul 7 | Jul 6 | Jul 5 | Jul 4 | Jul 3 | Jul 2 | Jul 1 | Jun 30 | Jun 29 | Jun 28 | Jun 27 | Jun 26 | Jun 25 | Jun 24 | Jun 23 | Jun 22 | Jun 21 | Jun 20 | Jun 19 | Jun 18 | Jun 17 | Jun 16 | Jun 15 | Jun 14 | Jun 13 | |
|---|---|---|---|---|---|---|---|---|---|---|---|---|---|---|---|---|---|---|---|---|---|---|---|---|---|---|---|---|---|---|---|---|---|---|---|---|---|---|---|---|---|---|---|---|---|---|
| Windows | 0 | 1 | 0 | 0 | 3 | 0 | 0 | 5 | 1 | 1 | 1 | 1 | 2 | 3 | 5 | 2 | 0 | 5 | 2 | 7 | 2 | 0 | 2 | 4 | 1 | 1 | 3 | 1 | 1 | 3 | 3 | 2 | 5 | 2 | 1 | 0 | 0 | 0 | 2 | 6 | 2 | 6 | 5 | 1 | 0 | 3 |
| Mac | 0 | 1 | 1 | 0 | 0 | 3 | 2 | 0 | 2 | 1 | 2 | 0 | 1 | 2 | 1 | 2 | 0 | 3 | 2 | 4 | 0 | 0 | 1 | 2 | 2 | 2 | 2 | 2 | 0 | 2 | 0 | 1 | 2 | 2 | 3 | 1 | 0 | 0 | 0 | 3 | 3 | 1 | 2 | 1 | 0 | 1 |
| Linux | 0 | 0 | 1 | 0 | 0 | 1 | 3 | 1 | 1 | 0 | 1 | 2 | 2 | 0 | 0 | 0 | 1 | 1 | 1 | 3 | 2 | 0 | 0 | 1 | 1 | 0 | 0 | 0 | 1 | 3 | 0 | 0 | 2 | 1 | 0 | 2 | 2 | 1 | 1 | 1 | 6 | 2 | 0 | 1 | 2 | 2 |
Readme
- Source
- raw.githubusercontent.com
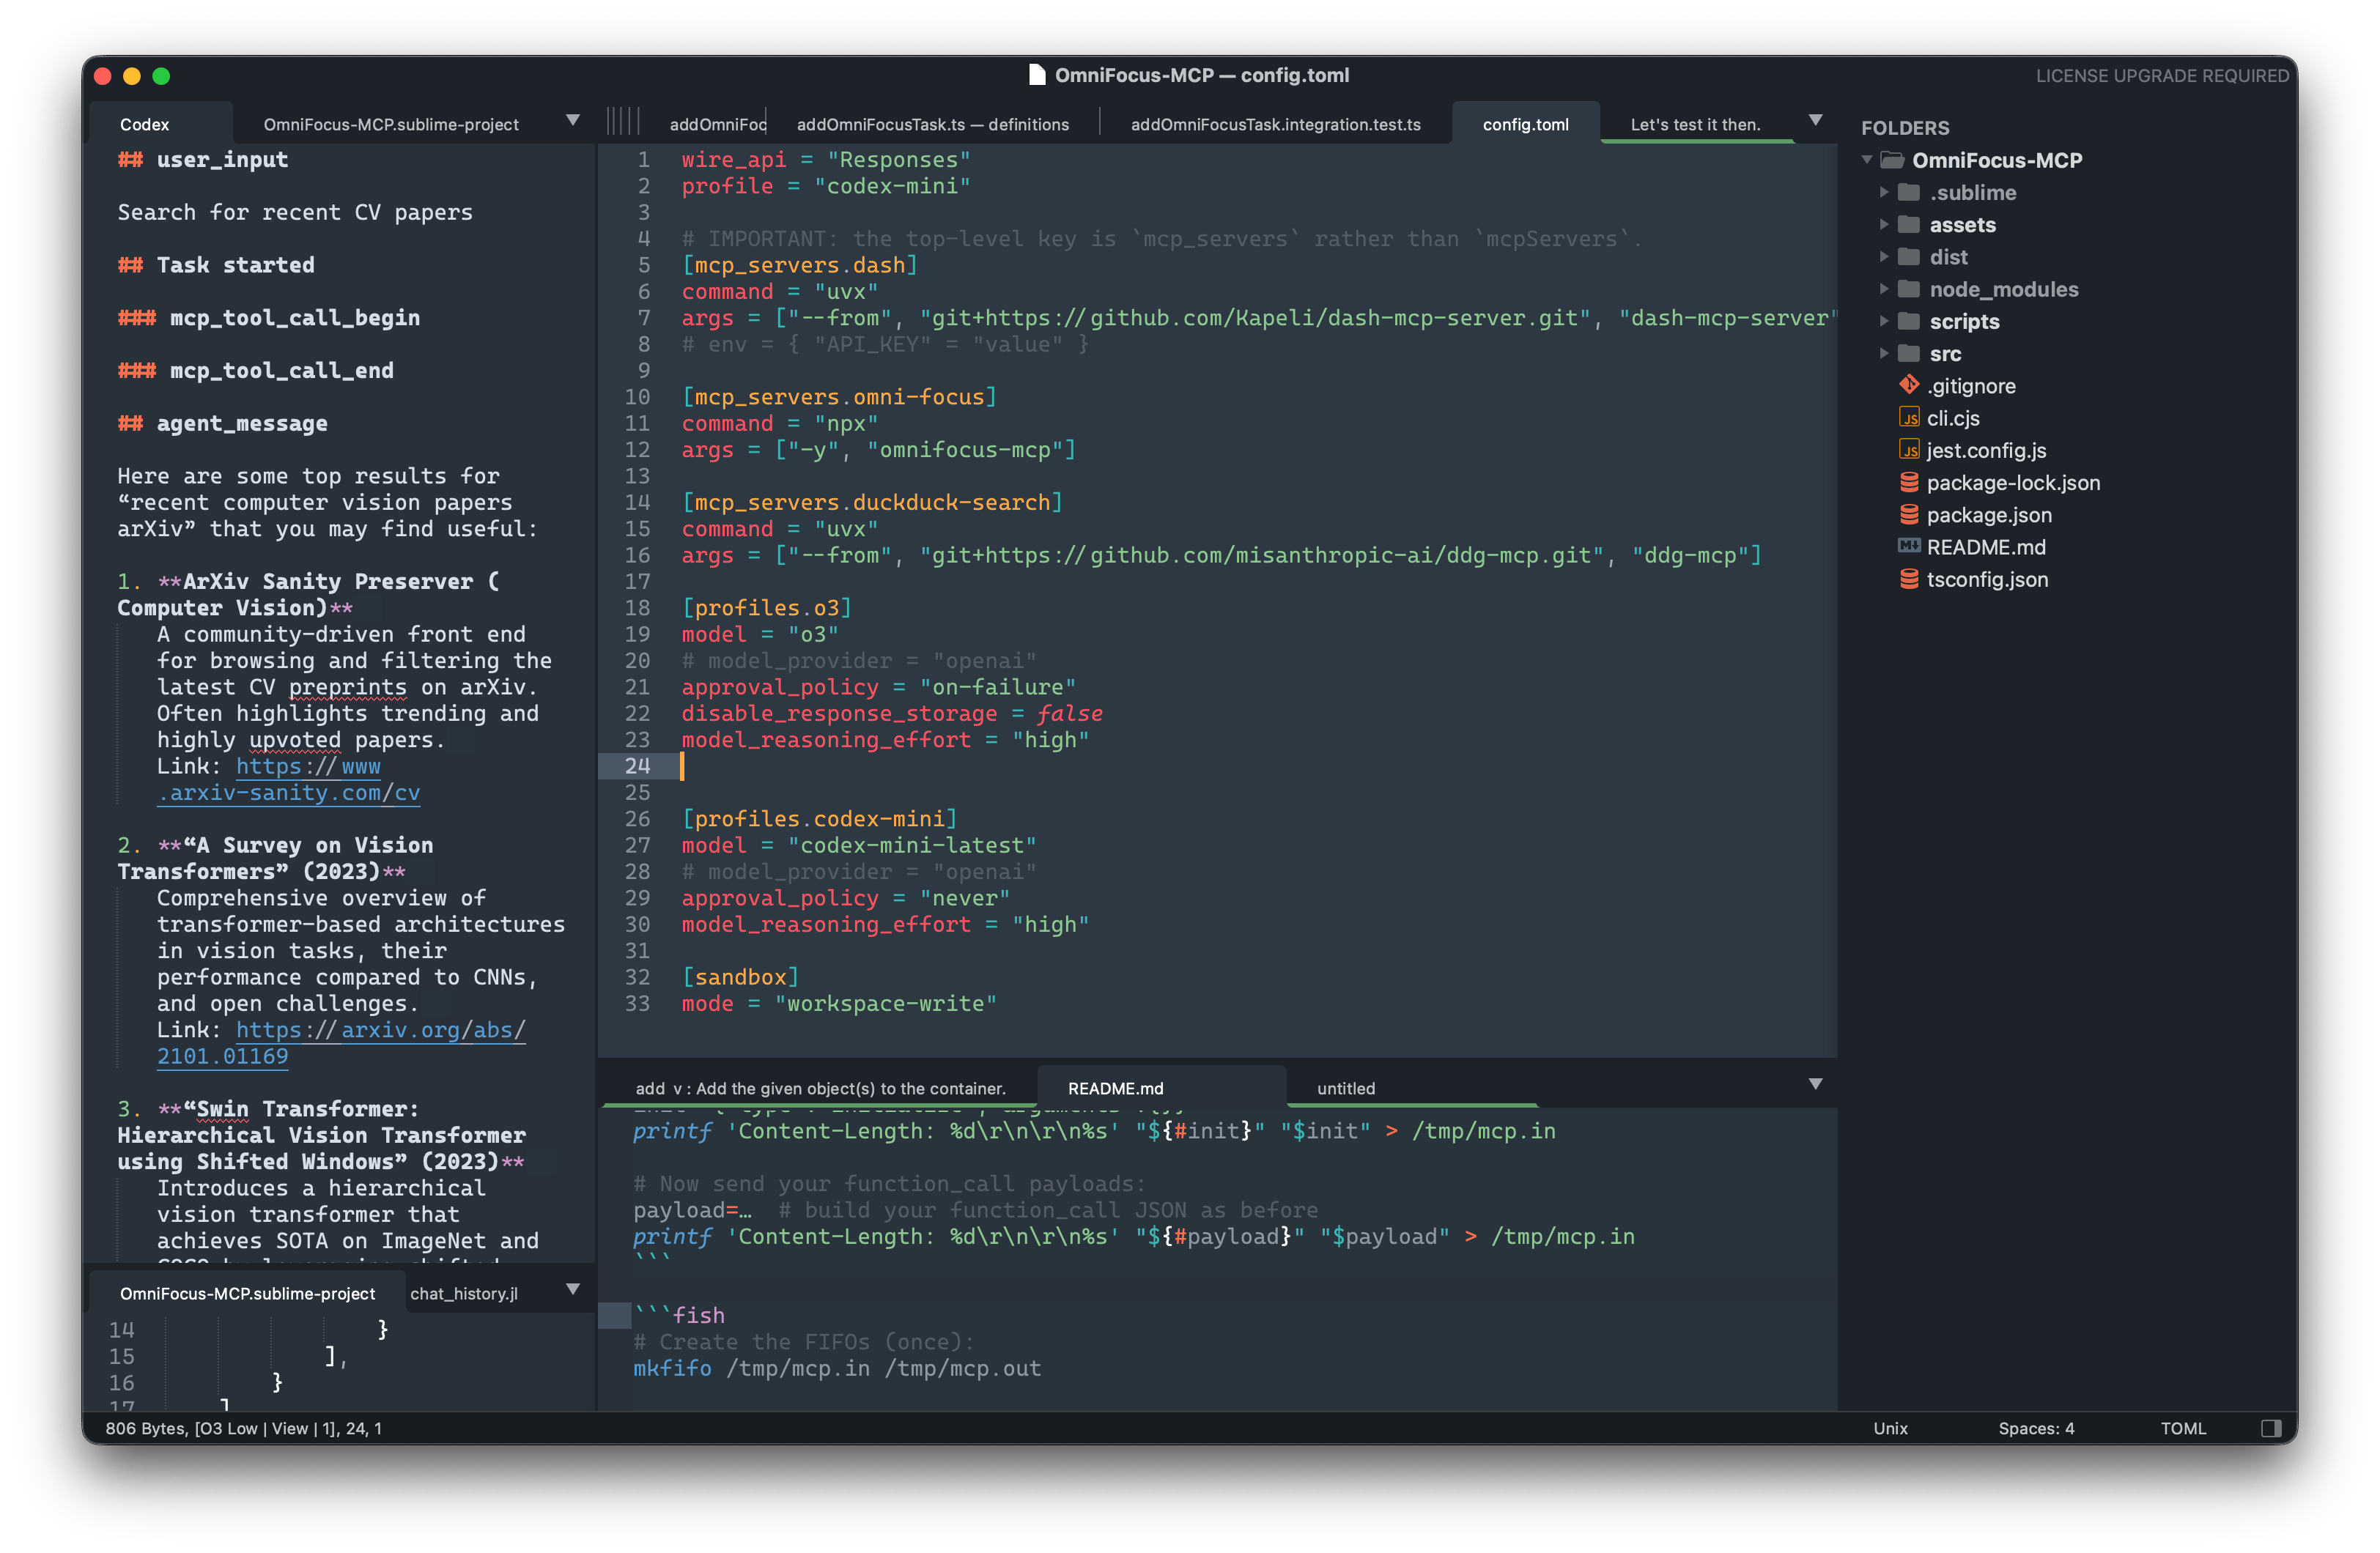
Codex Sublime Text plug-in
Chat with the Codex CLI directly from Sublime Text.
[!NOTE] Version of this package tracks the Codex CLI version it is tested with (for this release: plugin
1.104.0with codex-cli0.104.0). To get one, you can download binary to your system from codex releases page and set up this plugin's settings to point to that exact binary.
Upgrade Notes
- Markdown and folding: The transcript and input panels now use a bundled Markdown syntax for improved headings and section folding. You can auto‑fold sections by header via
fold_sectionsin project or global Codex settings. The plug-in spins up acodex app-serversubprocess, shows the conversation in a Markdown panel, and integrates approvals/sandboxed execution directly in the Sublime UI.
Features
- Full Codex capabilities
- Assistant-to-Bash interaction
- Sandboxing (on macOS and Linux)
- Model and provider selection
- MCP support (via
~/.codex/config.toml)1 - Deep Sublime Text integration
- Multiline input field uses Markdown
- Selected text is auto-copied into the message with syntax applied
- Outputs to either the output panel or a separate tab
- Symbol list included in answers
- Works out of the box[2].
Installation
- Download Separate Codex instance (the plug-in talks to the CLI, it is not bundled) from codex releases matching this plugin release (for
1.104.0, use codex-cli0.104.0).
Point out the downloaded codex binary from within plugin settings:
{
  "codex_path": ["~/some_path/codex"],
}
Plugin installation
- With Package Control
Package Control: Install Package→ Codex - Manual
Clone / download into your
Packagesfolder (e.g.~/Library/Application Support/Sublime Text/Packages/Codex).
- With Package Control
Sign in with Codex CLI (
codex login) if you are not already authenticated.
That’s it – hit ⌘⇧P / Ctrl ⇧ P, type Codex, select one of the commands and start chatting.
Commands (⌘⇧P)
- Codex: New Message – open a small Markdown panel, type a prompt, hit Super+Enter.
- Codex: Open Transcript Tab – open the conversation buffer in a normal tab.
- Codex: Reset Chat – stop the Codex subprocess, clear the transcript and invalidate the stored
session_idso the next prompt starts a brand-new session.
Per-project configuration
Every Sublime project can override Codex settings under the usual settings
section. Example:
{
    "folders": [{ "path": "." }],

    "settings": {
        "codex": {
            // will be filled automatically – delete or set null to reset
            "session_id": null,

            // model & provider options
            "model":            "o3",
            "provider_name":    "openai",
            "base_url":         "https://api.openai.com/v1",
            "wire_api":         "responses",
            "approval_policy":  "on-failure",

            // sandbox
            "sandbox_mode": "read-only",
            "permissions": [
                // additional writable paths (project folders are added automatically)
                "/Users/me/tmp-extra"
            ]
            ,
            // Auto-fold specific sections in the transcript by their header
            // name (case-insensitive). You can pass a string or a list.
            // Example: fold the model's internal reasoning block
            // (rendered as "## agent_reasoning").
            "fold_sections": ["agent_reasoning"]
        }
    }
}
What is sent to Codex
The plugin launches codex app-server with CLI --config overrides derived
from global/per-project Sublime settings, including:
modelsandbox_modeapproval_policysandbox_workspace_write.network_accesssandbox_workspace_write.writable_roots
If a value is not overridden by the plugin, Codex falls back to its normal
global config (~/.codex/config.toml).
For workspace-write, project folders and optional settings.codex.permissions
are propagated as writable roots.
Enjoy hacking with Codex inside Sublime Text! 🚀
Code sent to the language model
The plugin only sends the code snippets that you explicitly type or select in the input panel to the language model. It never uploads your entire file, buffer, or project automatically. Local configuration (such as sandbox permissions or project folders) is used only by the CLI to enforce file I/O rules and is not included in the prompt context.
However keep in mind that since this plugin and tool it relays on is agentish, any data from within your sandbox area could be sent to a server.
Suppressing noisy events
If the Codex backend floods the transcript with incremental updates such as
agent_reasoning_delta, add them to the suppress_events array in your
project-specific codex settings:
{
  "suppress_events": ["agent_reasoning_delta"]
}
Auto-folding sections
You can tell the transcript to auto‑fold certain sections by header name. The match is case-insensitive and can be configured globally or per-project.
- Global (Preferences ▸ Package Settings ▸ Codex ▸ Settings):
{
    // ... other settings ...
    "fold_sections": ["agent_reasoning"]
  }
- Per project (
.sublime-projectundersettings.codex):
{
    "settings": {
      "codex": {
        "fold_sections": ["agent_reasoning"]
      }
    }
  }
Notes
- Folding is scope-based and targets the Markdown meta.section for that
header. Only the section body is folded, so the header line shows with an
inline ellipsis (row style), e.g.: ## agent_reasoning ....
- The fold is applied right after the section is appended. If your syntax
definition delays section scopes, the plugin waits briefly to target the
correct section.
[2]: If codex is installed and authenticated (for example via codex login).