OpenAI completion
First class Sublime Text AI assistant with gpt-5, Opus 4.6, Gemini 3 and ollama support!
Details
Installs
- Total 11K
- Win 5K
- Mac 4K
- Linux 2K
| Jul 17 | Jul 16 | Jul 15 | Jul 14 | Jul 13 | Jul 12 | Jul 11 | Jul 10 | Jul 9 | Jul 8 | Jul 7 | Jul 6 | Jul 5 | Jul 4 | Jul 3 | Jul 2 | Jul 1 | Jun 30 | Jun 29 | Jun 28 | Jun 27 | Jun 26 | Jun 25 | Jun 24 | Jun 23 | Jun 22 | Jun 21 | Jun 20 | Jun 19 | Jun 18 | Jun 17 | Jun 16 | Jun 15 | Jun 14 | Jun 13 | Jun 12 | Jun 11 | Jun 10 | Jun 9 | Jun 8 | Jun 7 | Jun 6 | Jun 5 | Jun 4 | Jun 3 | Jun 2 | |
|---|---|---|---|---|---|---|---|---|---|---|---|---|---|---|---|---|---|---|---|---|---|---|---|---|---|---|---|---|---|---|---|---|---|---|---|---|---|---|---|---|---|---|---|---|---|---|
| Windows | 5 | 8 | 4 | 3 | 7 | 4 | 1 | 6 | 5 | 6 | 3 | 5 | 3 | 1 | 3 | 2 | 3 | 9 | 8 | 3 | 1 | 2 | 6 | 4 | 2 | 6 | 7 | 2 | 7 | 7 | 5 | 7 | 3 | 3 | 6 | 5 | 6 | 5 | 5 | 4 | 0 | 1 | 4 | 3 | 9 | 7 |
| Mac | 0 | 1 | 5 | 2 | 2 | 1 | 3 | 3 | 2 | 2 | 1 | 1 | 2 | 5 | 5 | 4 | 0 | 4 | 3 | 1 | 1 | 2 | 5 | 4 | 5 | 6 | 2 | 1 | 2 | 3 | 1 | 4 | 3 | 2 | 8 | 8 | 4 | 2 | 3 | 2 | 2 | 2 | 1 | 3 | 3 | 4 |
| Linux | 5 | 7 | 1 | 0 | 4 | 0 | 1 | 6 | 5 | 2 | 2 | 2 | 2 | 0 | 5 | 0 | 0 | 2 | 4 | 2 | 2 | 4 | 6 | 2 | 1 | 5 | 1 | 3 | 2 | 3 | 2 | 1 | 2 | 4 | 3 | 2 | 3 | 1 | 2 | 4 | 1 | 1 | 7 | 2 | 1 | 2 |
Readme
- Source
- raw.githubusercontent.com


OpenAI Sublime Text Plugin
tldr;
Cursor level of AI assistance for Sublime Text. I mean it.
Works with OpenAI Responses, Anthropic Claude, Google Gemini and the whole zoo of OpenAI-compatible APIs: llama.cpp server, ollama or whatever third party LLM hosting you decided to trust today.
Features
- Chat mode powered by whatever model you'd like.
- gpt-5 support.
- llama.cpp's server, ollama and all the rest OpenAI'ish API compatible.
- Dedicated chats histories and assistant settings for a projects.
- Ability to send whole files or their parts as a context expanding.
- Phantoms Get non-disruptive inline right in view answers from the model.
- Markdown syntax with code languages syntax highlight (Chat mode only).
- Server Side Streaming (SSE) streaming support.
- Status bar various info: model name, mode, sent/received tokens.
- Proxy support.
Requirements
- Sublime Text 4
- llama.cpp, ollama installed OR
- Remote llm service provider API key, e.g. OpenAI
- Optional Anthropic, Google Gemini or other provider API key depending on your assistant setup.
Installation
Via Package Control
- Install the Sublime Text Package Control plugin if you haven't done this before.
- Open the command palette and type
Package Control: Install Package. - Type
OpenAIand pressEnter.
Via Git Clone
- Go to your packages folder:
Preferences: Browse Packages. - Run
git clone https://github.com/yaroslavyaroslav/OpenAI-sublime-text.git OpenAI\ completionin that folder that Sublime opened. - Open Sublime Text and let it installed the dependencies.
- It may ask you to restart Sublime, do that if it does.
- Open Sublime again and type
OpenAIand pressEnter.
[!NOTE] Highly recommended complimentary packages: - https://github.com/SublimeText-Markdown/MarkdownCodeExporter - https://sublimetext-markdown.github.io/MarkdownEditing
Usage
Interacting with the AI
You can interact with the AI in several ways, primarily through commands available in the Sublime Text Command Palette:
- Select Text (Optional): You can select a region of text in your current file to be included as part of the context for your prompt.
- Choose Your Command:
-
OpenAI: Chat Model Select: This is the most flexible command. It opens a panel allowing you to:- Choose a specific “assistant” (which defines the model, API key, temperature, etc.).
- Select an “output_mode” (inline
Phantomor a chatViewin a panel/new tab). This command automatically includes any files you've marked for context (see “Additional Request Context Management” below).
-
OpenAI: New Message: This command sends your input directly using the assistant and output mode that were last selected or are currently active. It's quicker if you're consistently using the same settings. This command also includes any files marked for context.
-
- Input Your Prompt: An input panel will appear, allowing you to type your question or instruction for the AI.
- View Response:
- The AI's response will typically appear in the OpenAI output panel.
- If you chose “Phantom” mode (with
OpenAI: Chat Model Select), the response will appear as an inline overlay. - You can switch to a dedicated tab for the chat using the
OpenAI: Open in Tabcommand.
Including Build/LSP Output:
For more specific contexts, especially when coding, you can use commands that automatically include output from Sublime Text's diagnostic panels:
* OpenAI: New Message With Build Output
* OpenAI: Chat Model Select With Build Output
* OpenAI: New Message With LSP Output
* OpenAI: Chat Model Select With LSP Output
These commands will append recent lines from the respective output panels (Build results or LSP diagnostics) to your request. The number of lines included can be configured with the build_output_limit setting in openAI.sublime-settings. This is useful for asking the AI to explain errors, debug code, or summarize diagnostics.
Managing Chat Sessions:
* OpenAI: Refresh Chat*: Reloads the chat history into the output panel or tab.
* *OpenAI: Reset Chat History: Clears the chat history for the current context (project-specific or global).
Chat history management
You can separate a chat history and assistant settings for a given project by appending the following snippet to its settings:
{
    "settings": {
        "ai_assistant": {
            "cache_prefix": "/absolute/path/to/project/"
        }
    }
}
Additional Request Context Management
You can include the content of specific files as context for the AI. Files marked for context will have their content sent along with your prompt. There are several ways to manage this:
- Using the Command Palette:
- Run the
OpenAI: Add Sheets to Contextcommand. If you run this while one or more tabs are selected (e.g., usingCtrl+ClickorCmd+Clickon tabs, or by selecting files in the sidebar that get focused as tabs), it will toggle their inclusion in the AI context.
- Run the
- Using the Tab Context Menu:
- Right-click on an open tab and select
OpenAI: Add File to Contextfrom the context menu to toggle its inclusion.
- Right-click on an open tab and select
- Using the Sidebar Context Menu:
- Right-click on a file or a selection of files in the sidebar and choose
OpenAI: Add File to Contextfrom the context menu to toggle their inclusion.
- Right-click on a file or a selection of files in the sidebar and choose
Once files are added to the context:
* You can see the number of currently included sheets in the status bar (if this option is enabled in the status_hint setting).
* The OpenAI: Chat Model Select command preview panel will also list the files currently included.
* To view all files currently marked for context in the current window, run the OpenAI: Show All Selected Sheets command from the Command Palette. This will select these files in their respective views/groups.
Files can be deselected using the same methods (the commands effectively toggle the inclusion status).
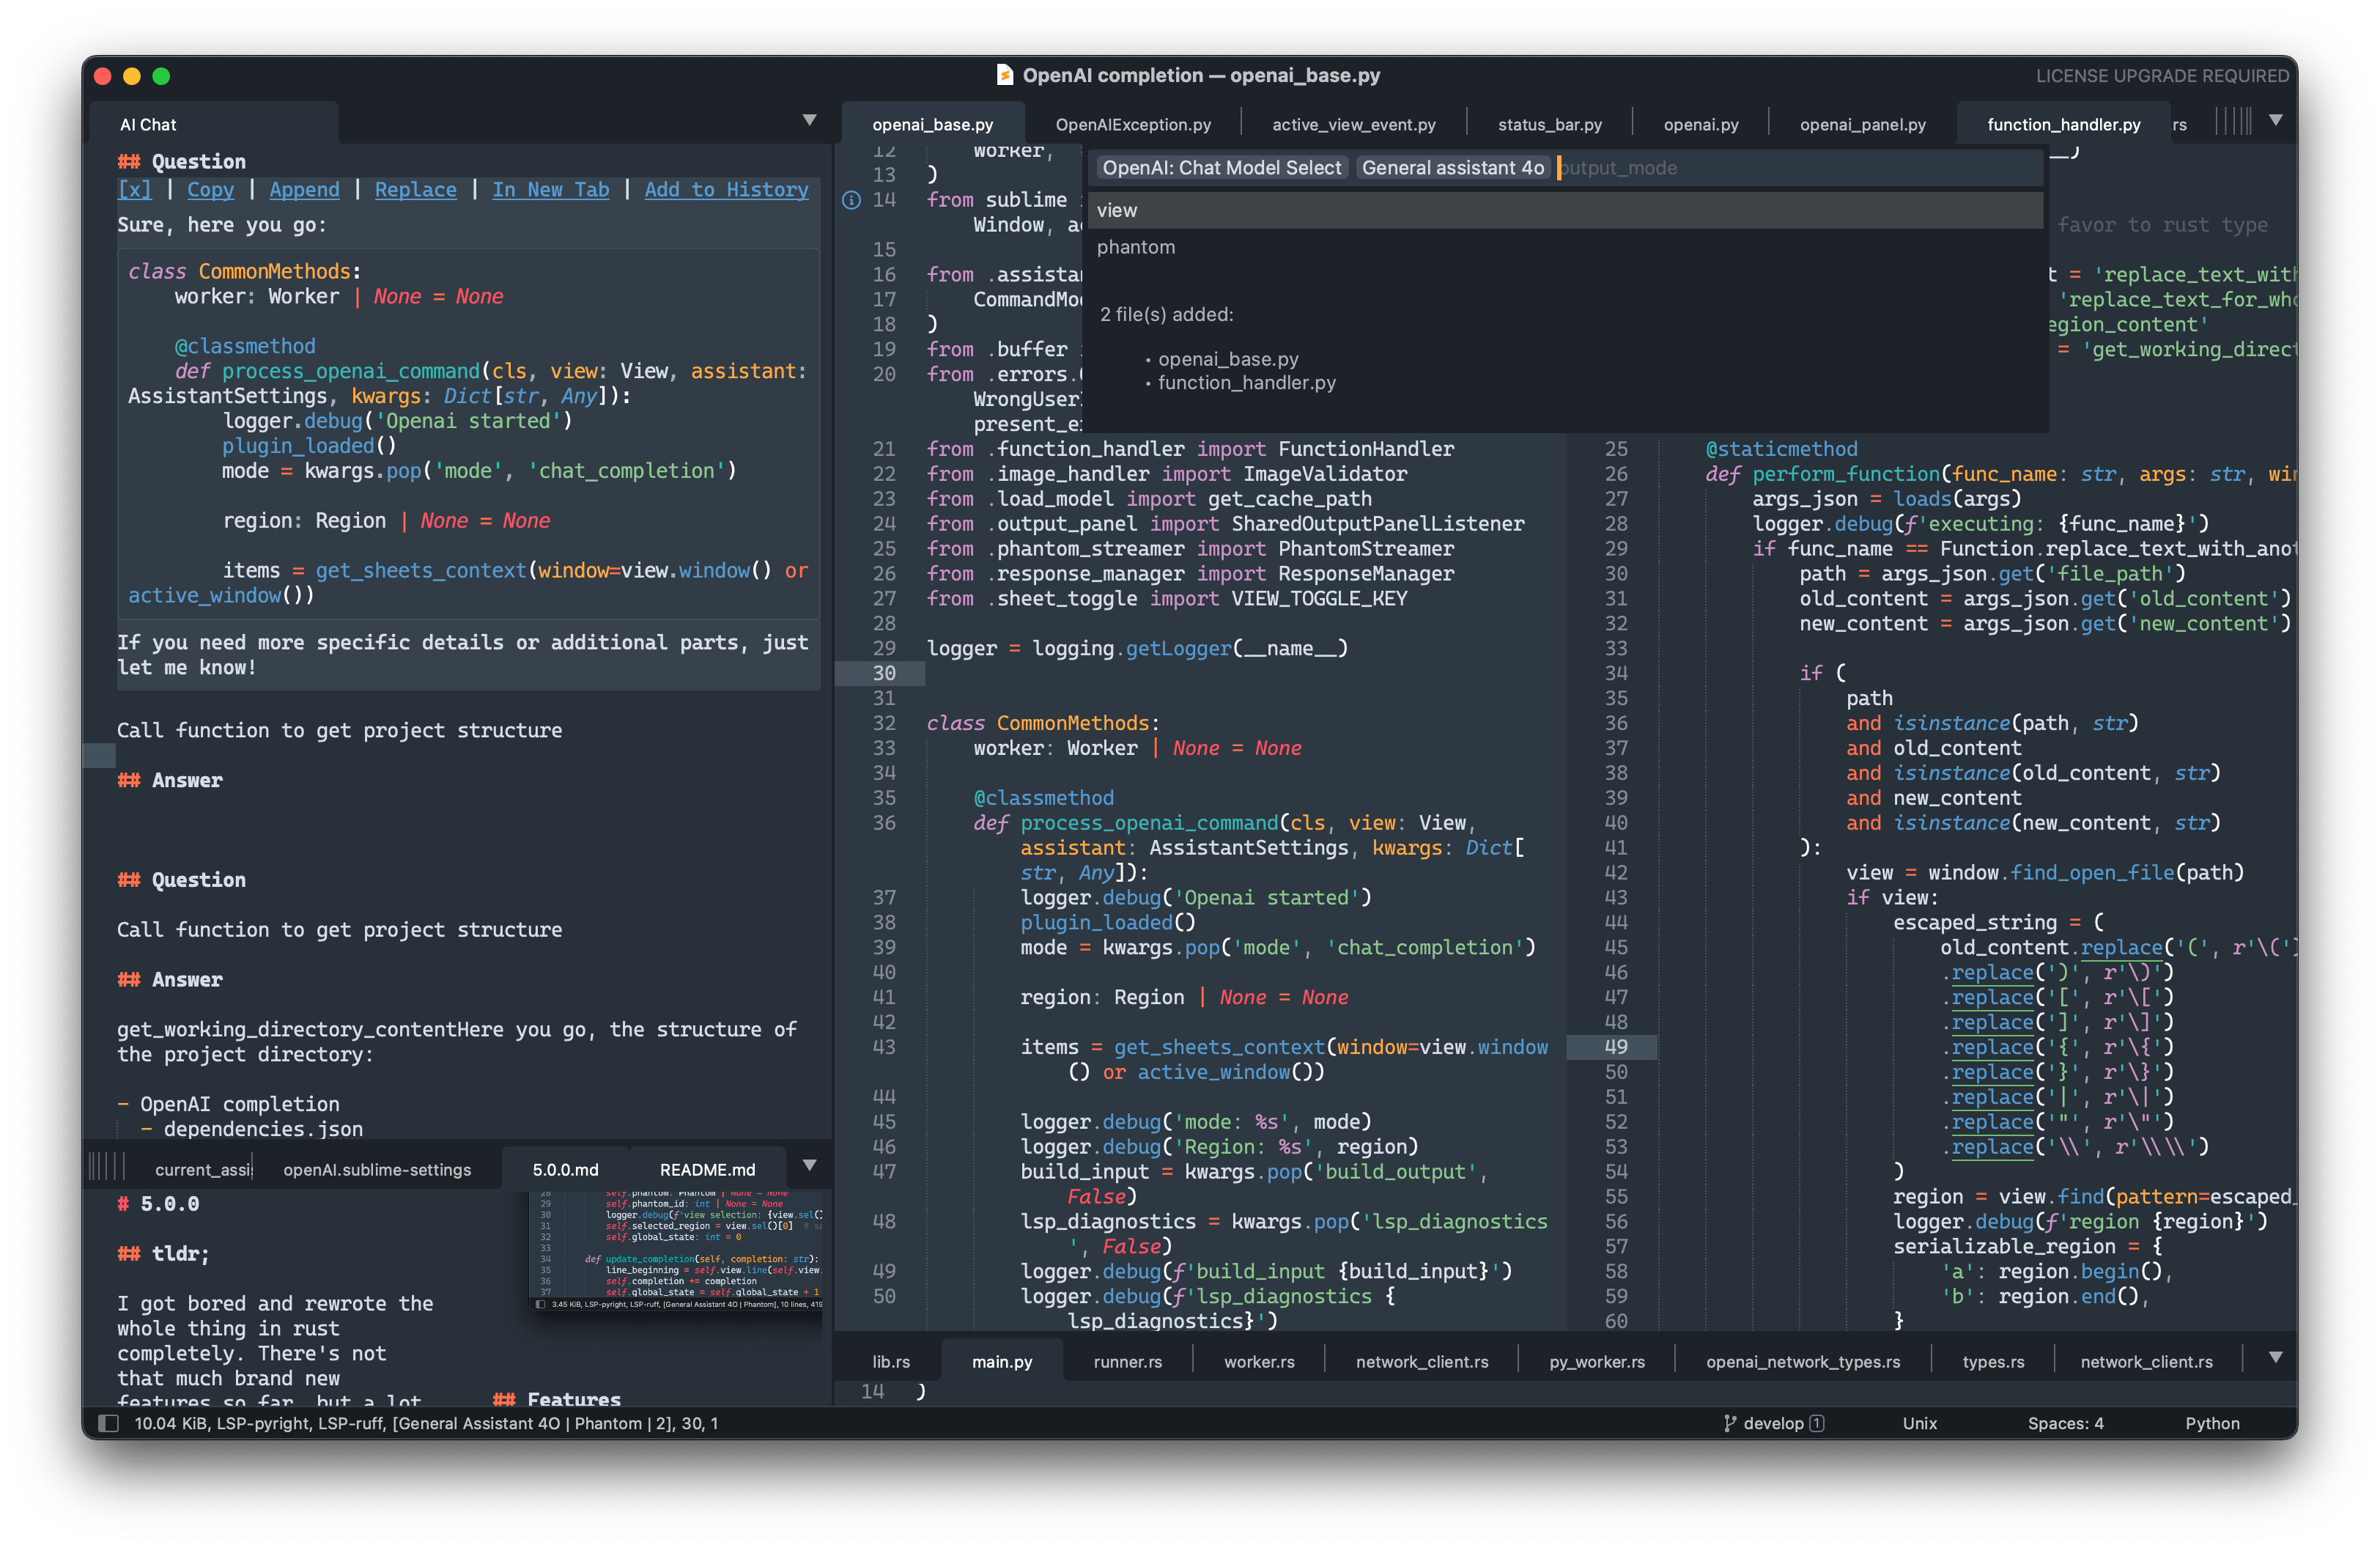
Image handling
Image handle can be called by OpenAI: Handle Image command.
It expects an absolute path to image to be selected in a buffer or stored in clipboard on the command call (smth like /Users/username/Documents/Project/image.png). In addition command can be passed by input panel to proceed the image with special treatment. png and jpg images are only supported.
[!NOTE] Currently plugin expects the link or the list of links separated by a new line to be selected in buffer or stored in clipboard only.
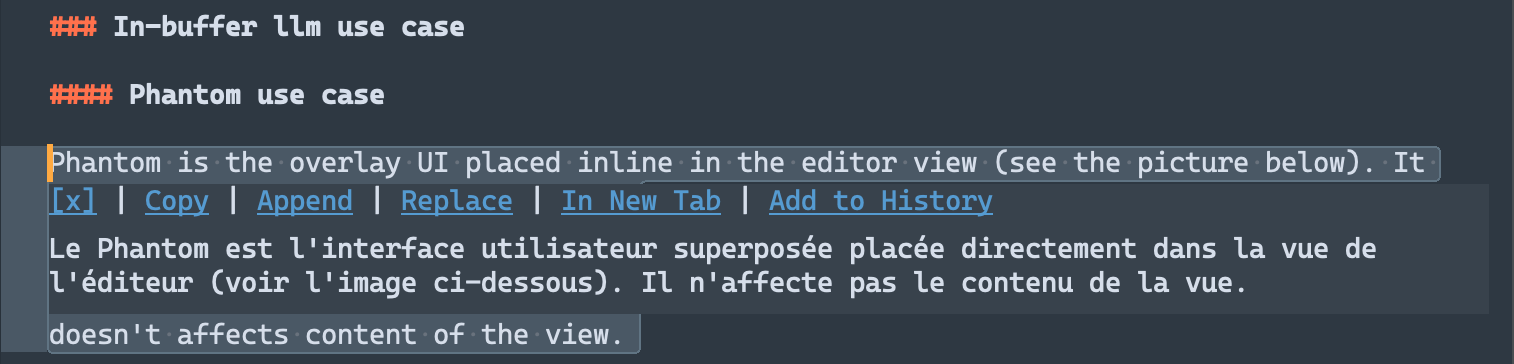
In-buffer llm use case
Phantom use case
Phantom is the overlay UI placed inline in the editor view (see the picture below). It doesn't affects content of the view.
- [optional] Select some text to pass in context in to manipulate with.
- Pick
Phantomas an output mode in quick panelOpenAI: Chat Model Select. - After the AI responds, the phantom will display actions like:
- x: Dismisses the phantom.
- Copy: Copies the AI's response (or just the code, if
phantom_integrate_code_onlyis true) to the clipboard. - Append: Appends the AI's response to the end of your current selection in the editor (or at the cursor position if no selection).
- Replace: Replaces your current selection with the AI's response.
- In New Tab: Opens the AI's full response in a new tab.
- Add to History: Saves the current interaction (your prompt and the AI's response) to the chat history panel/view.
- You can hit
ctrl+cto stop prompting same as with inpanelmode.
Other features
Open Source models support (llama.cpp, ollama)
- Replace
"url"setting of a given model to point to whatever host you're server running on (e.g.http://localhost:8080/v1/chat/completions). - Provide a
"token"if your provider required one. - Set
"api_type": "plain_text"for older OpenAI-compatible hosts or"api_type": "open_ai"for modern chat-completions implementations. - Tweak
"chat_model"to a model of your choice and you're set.
Google Gemini models
- Set
"url"to the Gemini API root:https://generativelanguage.googleapis.com/v1beta. - Set
"api_type": "google". - Provide a
"token"if your provider required one. - Tweak
"chat_model"to a model from the list of supported models.
OpenAI Responses API
- Set
"url"tohttps://api.openai.com/v1/responses. - Set
"api_type": "open_ai_responses". - Use an OpenAI Responses-capable model such as
gpt-5.
Anthropic Claude models
- Set
"url"tohttps://api.anthropic.com/v1/messages. - Set
"api_type": "anthropic". - Provide your Anthropic API key as
"token". - Set
"chat_model"to the Claude model you want to use.
[!NOTE] You can set both
urlandtokeneither global or on per assistant instance basis, thus being capable to freely switching between closed source and open sourced models within a single session.
Settings
The OpenAI Completion plugin has a settings file where youcan set your OpenAI API key. This is required for the most of providers to work. To set your API key, open the settings with the Preferences: OpenAI Settings command and paste your API key in the token property, as follows: You can also access these settings and the default keybindings via the main menu: Preferences -> Package Settings -> OpenAI completion.
{
    "token": "sk-your-token",
}
Advertisement disabling
To disable advertisement you have to add "advertisement": false line into an assistant setting where you wish it to be disabled.
Key Bindings
You can create custom keybindings for OpenAI commands by adding entries to your user keymap file. Access this file via the Command Palette (Preferences: Key Bindings) or the main menu (Preferences -> Key Bindings). Sublime Text keybindings often use sequences, for example, pressing super+k (or ctrl+k on Windows/Linux) followed by another key.
Here are some examples to get you started:
1. New Message with current assistant (includes files marked for context): “json { "keys”: [“super+k”, “m”], // macOS: Cmd+k, then m “command”: “openai” }
**2. Open Chat Model Select panel (includes files marked for context):**
```json
{
    "keys": ["super+k", "super+m"], // macOS: Cmd+k, then Cmd+m
    "command": "openai_panel"
}
3. New Message with Build Output (using current assistant): “json { "keys”: [“super+k”, “b”], // macOS: Cmd+k, then b “command”: “openai”, “args”: { “build_output”: true } }
**4. Toggle current file's inclusion in AI Context (matches "OpenAI: Add Sheets to Context" command):**
```json
{
    "keys": ["super+k", "c"], // macOS: Cmd+k, then c
    "command": "toggle_view_ai_context_included"
}
5. Show the AI Chat output panel: “json { "keys”: [“super+k”, “p”], // macOS: Cmd+k, then p “command”: “show_panel”, “args”: { “panel”: “output.AI Chat” } }
### Proxy support

You can setup it up by overriding the proxy property in the `OpenAI completion` settings like follow:

```js
"proxy": {
    "address": "127.0.0.1", // required
    "port": 9898, // required
    "username": "account",
    "password": "sOmEpAsSwOrD"
}
Disclaimers
[!WARNING] All selected code will be sent to the OpenAI servers (if not using custom API provider) for processing, so make sure you have all necessary permissions to do so.
[!NOTE] Dedicated to GPT3.5 that one the one who initially written at 80% of this back then. This was felt like a pure magic!
[1]: PR's are welcome tho.