Theme - Lyte
A minimal, aesthetically pleasing theme for Sublime Text 3.
Details
Installs
- Total 9K
- Win 5K
- Mac 3K
- Linux 2K
| Feb 11 | Feb 10 | Feb 9 | Feb 8 | Feb 7 | Feb 6 | Feb 5 | Feb 4 | Feb 3 | Feb 2 | Feb 1 | Jan 31 | Jan 30 | Jan 29 | Jan 28 | Jan 27 | Jan 26 | Jan 25 | Jan 24 | Jan 23 | Jan 22 | Jan 21 | Jan 20 | Jan 19 | Jan 18 | Jan 17 | Jan 16 | Jan 15 | Jan 14 | Jan 13 | Jan 12 | Jan 11 | Jan 10 | Jan 9 | Jan 8 | Jan 7 | Jan 6 | Jan 5 | Jan 4 | Jan 3 | Jan 2 | Jan 1 | Dec 31 | Dec 30 | Dec 29 | |
|---|---|---|---|---|---|---|---|---|---|---|---|---|---|---|---|---|---|---|---|---|---|---|---|---|---|---|---|---|---|---|---|---|---|---|---|---|---|---|---|---|---|---|---|---|---|
| Windows | 0 | 0 | 0 | 0 | 0 | 0 | 0 | 0 | 0 | 1 | 0 | 0 | 0 | 0 | 0 | 0 | 0 | 0 | 0 | 0 | 1 | 0 | 0 | 0 | 0 | 0 | 0 | 0 | 0 | 0 | 0 | 0 | 0 | 0 | 1 | 0 | 0 | 0 | 0 | 1 | 0 | 0 | 0 | 1 | 0 |
| Mac | 0 | 0 | 0 | 0 | 0 | 0 | 0 | 0 | 0 | 0 | 0 | 0 | 0 | 0 | 1 | 0 | 1 | 0 | 0 | 0 | 0 | 0 | 0 | 0 | 0 | 0 | 0 | 0 | 0 | 0 | 0 | 0 | 0 | 0 | 0 | 0 | 0 | 0 | 0 | 0 | 0 | 0 | 0 | 0 | 0 |
| Linux | 0 | 0 | 0 | 0 | 0 | 0 | 0 | 1 | 0 | 1 | 0 | 0 | 0 | 0 | 0 | 0 | 0 | 0 | 0 | 0 | 0 | 0 | 0 | 0 | 0 | 0 | 0 | 0 | 0 | 0 | 0 | 0 | 0 | 0 | 1 | 0 | 0 | 0 | 0 | 0 | 0 | 0 | 0 | 0 | 0 |
Readme
- Source
- raw.githubusercontent.com
Lyte Theme
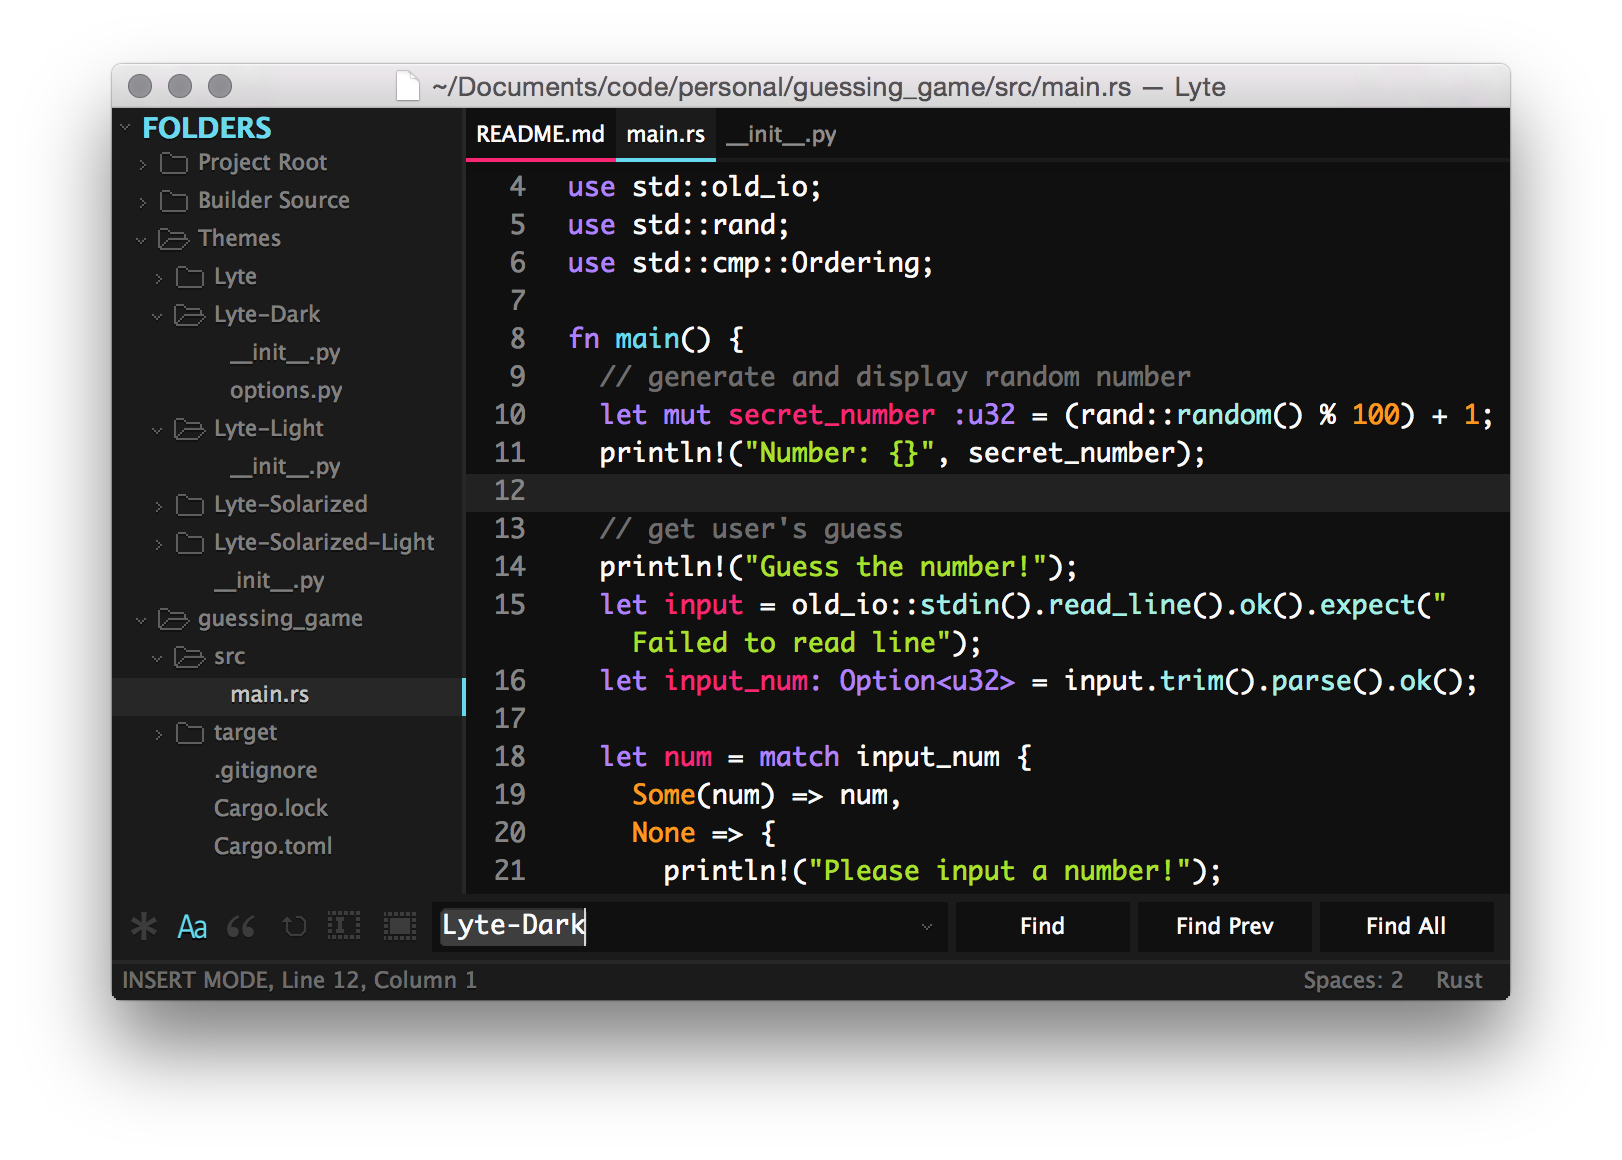
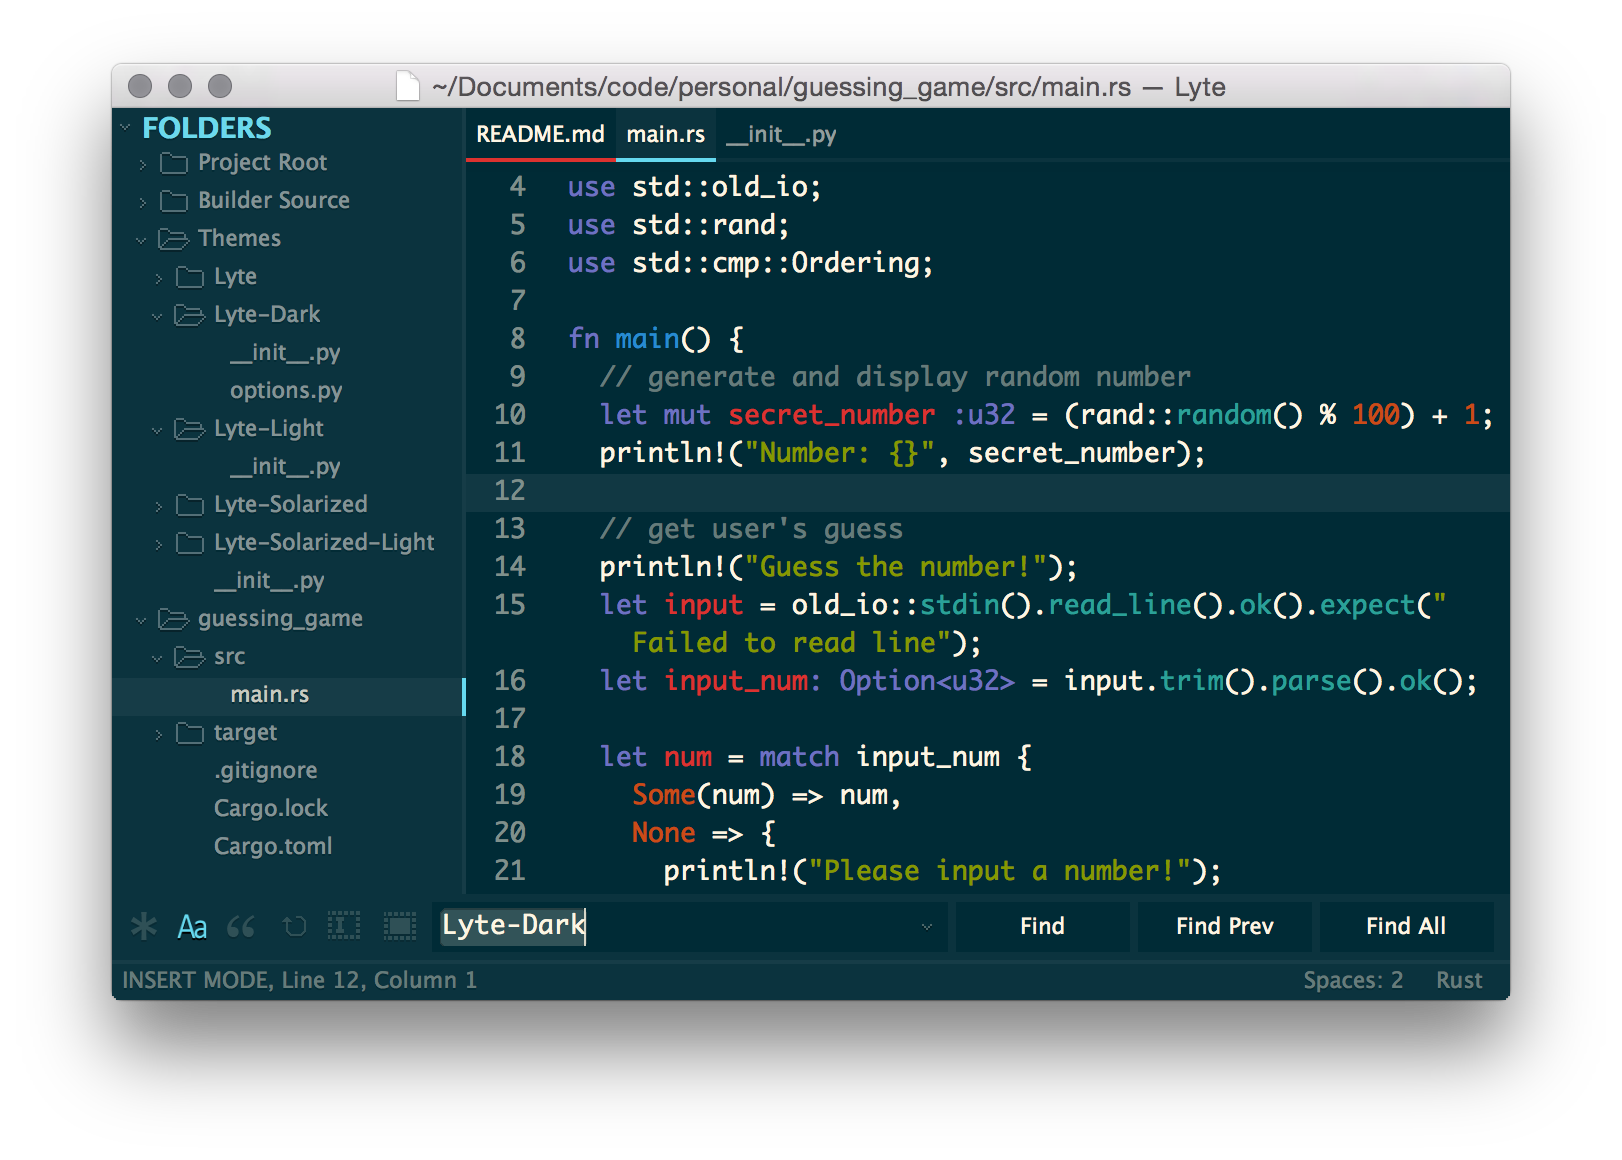
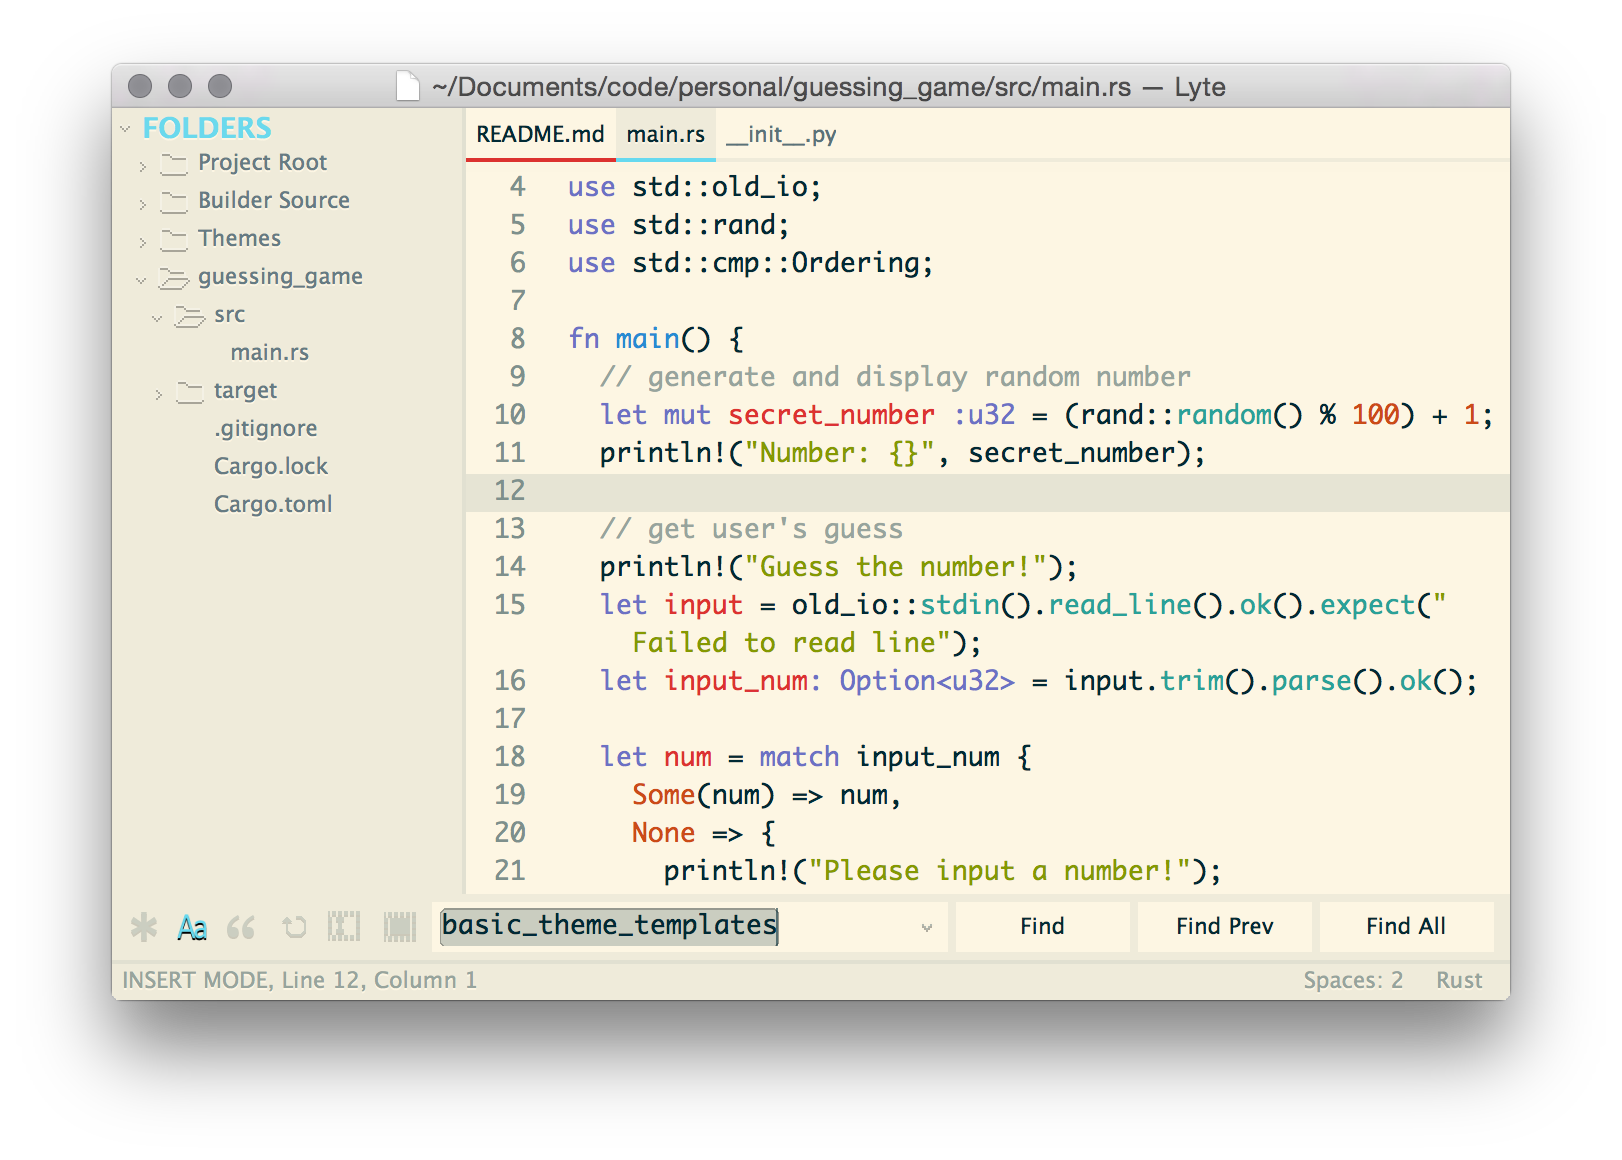
Lyte is a set of themes for Sublime Text with fancy-schmancy border file status indicators that aims to be minimal, flat, and super-friendly with high-DPI displays - including retina displays.
- Font: Monaco
- Color Scheme: Lyte-Monokai (included in this theme and based on Base16 Monokai)
- Other settings to get your environment to look like this can be found in the Recommendations section


Installation
Package Controls
If you're not planning on customizing the theme in any way and just want to enjoy the pre-built themes shown here (and in the Glamour Shots below), I recommend installation via Package Control.
If you have the Package Control plugin installed, you can install this theme via the Package Control: Install Package command. Then look for the Theme - Lyte listing and install it!
If you don't have the Package Control plugin, well, you just should. Here are the installation instructions.
Git
If you'd like easier access to the code, to keep up to date faster, or customize the syntax highlighting or theme files, I highly suggest using Git to install the theme.
Open your Packages directory with the command Preferences: Browse Packages. While in the Packages directory, you just need to clone the repo as follows:
git clone https://github.com/lytedev/lyte-theme/ "Theme - Lyte"
Usage
Add this to your Preferences: Settings - User file:
"theme": "Lyte-Monokai.sublime-theme",
Or, for the included alternatives,
"theme": "Lyte-Dark.sublime-theme",
"theme": "Lyte-Light.sublime-theme",
"theme": "Lyte-Solarized.sublime-theme",
"theme": "Lyte-Solarized-Light.sublime-theme",
You will need to restart Sublime for all changes to take effect.
Syntax Highlighting
Add this to your Preferences: Settings - User file:
"color_scheme": "Packages/Theme - Lyte/Lyte-Monokai/Lyte-Monokai.tmTheme",
Or, for the included alternatives,
"color_scheme": "Packages/Theme - Lyte/Lyte-Dark/Lyte-Dark.tmTheme",
"color_scheme": "Packages/Theme - Lyte/Lyte-Light/Lyte-Light.tmTheme",
"color_scheme": "Packages/Theme - Lyte/Lyte-Solarized/Lyte-Solarized.tmTheme",
"color_scheme": "Packages/Theme - Lyte/Lyte-Solarized-Light/Lyte-Solarized-Light.tmTheme",
But you probably already have syntax highlighting you prefer. =) Hopefully this theme fits it well! If not, I suggest changing your syntax highlight background to #111111. Should make a world of difference. If you really want to get this theme to match your syntax highlighting (or vice-versa), modify the theme to use the active border color (currently green by default) to match your syntax highlighting green. Same for the “dirty” color (currently red).
Recommendations
This is just my preference, but I very much prefer a clean and dark environment. This theme, though made with everybody in mind, has some bias towards my preferences. So, if you like what's in the first screenshot, here are some of the more important preferences I use. Add them to your Preferences: Settings - User:
"color_scheme": "Packages/Theme - Lyte/Lyte-Monokai/Lyte-Monokai.tmTheme",
"theme": "Lyte-Monokai.sublime-theme",
"overlay_scroll_bars": "enabled",
"show_tab_close_buttons": false,
"draw_minimap_border": false,
"enable_tab_scrolling": false,
"fade_fold_buttons": true,
"highlight_line": true,
"caret_style": "phase",
"highlight_modified_tabs": true,
Customization
This theme is built with a small python application. This application is contained in this codebase and can be viewed in the src directory.
With Sublime, open the dev/Lyte.sublime-theme sublime project file. In your sidebar, expand the Themes folder to see a list of themes. The code is fairly self explanatory, so you should be able to figure it all out by just reading the files and their comments. That said, here's a quick guide!
Modifying Existing Themes
Open the theme's __init__.py and modify values as you see fit. The Lyte-Monokai keeps its options mostly in options.py instead, so look in there if you're modifying that one in particular. If you have a particular option you want to modify, you can see open the src/theme_templates/Lyte/Lyte.sublime-theme-template (or src/color_scheme_templates/Lyte.thTheme-template) to see which values are being used where and for what. Then you can simply add that option key to your options array.
For example, the Lyte-Monokai theme uses the green color as the active color (which colors the active tab border, scroll bars, popup row border, and other things). You might want to use blue instead! So open up the Lyte-Monokai/options.py and add options["active"] = options["blue"]. Then you can just Build the project (using Sublime's Build since the project has the build system built-in) and the Lyte-Monokai theme should then have blue active accents instead of green.
Adding Your Own Themes
At its core, this project replaces some values in some text files, but it does a LOT behind the scenes to make this as simple as possible. If you'd like to use this project to make your own themes, it's totally possible! Someday, I may flesh this project out as its own plugin for editing themes. Until then, this section should explain how to add your own theme.
First, make your own folder in the Sidebar's Theme folder. Name it something unique and add a __init__.py file in your new folder. Now you will either need to add your own templates or you can use existing templates and even inherit an existing Lyte theme. Your __init__.py will look different depending on which route you take.
Inheriting an Existing Lyte Theme
Inheriting an existing theme is by far the easiest method by which to add your own theme. Figure out which existing Lyte theme you want to base your theme on. Now fill in your __init__.py
from theme_builder.color import Color
from theme_builder.compilation import Compilation

my_theme = Compilation("My-Theme-Name")
comp.copy_all("Lyte-Monokai") # Change "Lyte-Monokai" to the compilation's name from whom you want to inherit

# Modify any options you want, add your own options preprocessors, etc.
# I recommend doing all your modifications in a preprocessor to ensure
# That your changes don't get overwritten by a parent theme's preprocessor.
# Only leave change outside of a preprocessor if you're expecting a parent's preprocessors
# to behave a certain way.
comp.options["active"] = comp.options["blue"] # See, this is a dumb idea...
# A parent theme might set the `active` option and you'd be screwed!

def my_theme_preprocessor(opts):
    opts["comment"] = Color("#ff0000") # Really really red comments in your code for this theme
    return opts

comp.preprocessors.append(my_theme_preprocessor)
Adding Custom Templates
The existing templates definitely expect certain things and certain functionality you may want to circumvent completely. You'll need to make your own templates. This will still require a fair amount of knowledge when it comes to customizing Sublime theme and/or color schemes, so brush up!
You can add templates to src/theme_templates for Sublime themes and to src/color_scheme_templates for color schemes. Make a folder in there with your Template's name. Sublime theme templates expect certain files (unless you programatically and explicitly say otherwise) including the following files:
<TemplateName>.sublime-theme-template<TemplateName>-Widget.sublime-settings-template<TemplateName>-Widget.stTheme-template
Color scheme templates expect the follow files:
<TemplateName>.tmTheme-template
Where <TemplateName> should be replaced with your Template's name (I think the same as the folder you should have made). The template files basically have the options of the theme Compilation replaced with Python's string.format() The template files basically have the options of the theme Compilation replaced with Python's string.format(). This means any value you want to be generated by the application will need to be replaced with ${option_key_name} (where “option_key_name” is the name of the option, of course) and then have the option specified in your Theme so that the end result theme file has that value in place. See the documentation on Python's string.format() for more info. See the existing templates for examples.
Every single template variable must be used. So any ${option} specified in your template should be specified in your compilation options. So if you have ${text_color} in your templates, your theme's __init__.py better define comp.options["text_color"] or you'll get errors when you try to build.
Once you have your template files in place, let's go ahead and tell our Compilation to load those templates. Here's how the __init__.py file for your theme should look:
from theme_builder.theme import Theme, theme_dir, icons_dir, basic_theme_templates
from theme_builder.color_scheme import ColorScheme, basic_color_scheme_templates, color_scheme_dir
from theme_builder.color import Color
from theme_builder.compilation import Compilation

# This creates our Compilation's Sublime theme
theme_name = "My-Theme"
sublime_theme_template_name = "My-Sublime-Theme-Templates"
theme = Theme(theme_name, icons_dir("Lyte"), theme_dir(sublime_theme_template_name), basic_theme_templates(sublime_theme_template_name, theme_name))

# Initialize our color scheme - see the ColorScheme class for details
color_scheme_template_name = "My-Color-Scheme-Templates"
color_scheme = ColorScheme(theme_name, color_scheme_dir(color_scheme_template_name), basic_color_scheme_templates(color_scheme_template_name, theme_name))

# Create our compilation using the new theme and color scheme
comp = Compilation(theme_name, theme, color_scheme)

# Define our options preprocessor
def preprocessor(opts):
    # Set ALL your options here!
    opts["highlight_color"] = Color("#ff0000")
    opts["text_color"] = Color("#ffffff")
    return opts

# Add our preprocessor to the list - don't overwrite it!
comp.preprocessors.append(preprocessor)
Obviously, replace the references to “My-blahblahblah-Template” with whatever folder you actually created for your template files. You may use any mixture of color scheme templates with Sublime theme templates, just make sure all the ${options} that string.format() will replace are all defined in your options dict.
You can also, as you probably could tell, use your own icons. Create a folder in src/iconsets and put your icons in there.
Now you've got your theme hooked up to your template(s), let's tell the build script to actually generate them. Open the src/lyte.py file, and in the compilations array, add the folder that you created that hold your theme's __init__.py. Then build the project. Your theme's files should be built! You should get a My-Theme.sublime-theme and a My-Theme folder containing your color scheme and the widget stuff (assuming you went the standard route). You can use this new theme by setting your preferences as follows:
"color_scheme": "Packages/Theme - Lyte/My-Theme/My-Theme.tmTheme",
"theme": "My-Theme.sublime-theme",
TODO: Flesh this section out. If you're having issues with any of this, let me know! I'm more than willing to help out. =)
Credit
- Inspired by the Nexus theme and the Devastate theme
- Most icons are shameless edits of the icons in the Nexus theme
Changelog
See CHANGELOG.md
License
This theme is licensed under the Creative Commons Attribution-ShareAlike 3.0 License. You are free to share and remix the theme, however please abide by the license terms when doing so.
The following details apply to the Creative Commons license “author specified” components:
Attribution example: Based on the Lyte theme by @lytedev
Naming guidelines: If you create and distribute a derivative theme, please give your theme a unique and original name that does not directly include “Lyte” (or a close variant) in the main project title, repo name or Package Control name.
